

Step-by-Step American Grilling for Atlanta Cooks
TOJEXPRESS.COM-Antonio HenryTL;DR:
- Following a step-by-step American grilling method guarantees safe and juicy results for burgers, chicken, and steaks today.
- Mastering the two-zone fire setup on gas or charcoal for searing and finishing is essential for flavorful, perfectly cooked meat.
Follow this step-by-step American grilling sequence and you can safely cook juicy burgers, chicken, and steaks tonight: preheat your grill for 10–15 minutes, build a two-zone setup, oil the food (not the grate), sear over high heat, finish on the cool side, then rest before slicing. That’s the whole game.
Quick-start checklist:
- Preheat to 400–450°F (10–15 minutes)
- Build two zones: one hot, one cool
- Oil the food, not the grate
- Sear, then move to indirect heat to finish
- Check doneness with an instant-read thermometer (USDA targets: 160°F ground beef, 165°F poultry, 145°F whole cuts)
- Rest meat for several minutes before cutting
- Keep a fire extinguisher nearby (NFPA guidance)
- Shop Tojexpress for Caribbean and American seasonings, marinades, and grilling staples
Table of Contents
- What equipment do you actually need before you grill?
- Which proteins should beginners start with?
- How do you build a two-zone fire on gas and charcoal grills?
- Step-by-step: how to cook a burger, steak, and chicken thigh
- How do you season meat and build real flavor?
- What food-safety and grill-safety rules actually matter?
- Fast fixes when something goes wrong mid-cook
- Key Takeaways
- What Antonio gets right about grilling in Atlanta
- Stock your grill pantry at Tojexpress
- Useful sources
What equipment do you actually need before you grill?
Two grill types dominate American backyards: gas and charcoal. Gas wins on convenience — turn a knob, get consistent heat, done. Charcoal takes more patience but delivers a smokier crust that gas simply cannot replicate. Chef Christopher Prieto frames it as a gas-to-charcoal progression: start on gas to learn heat control without the extra variables, then graduate to charcoal once you trust your instincts.
Essential tools:
- Long-handled tongs and a sturdy spatula
- Instant-read thermometer (non-negotiable)
- Grill brush for cleaning grates
- Heat-resistant gloves
- Chimney starter if you’re using charcoal (skip lighter fluid — it leaves off-flavors and produces uneven heat)
- Disposable foil drip pan for lean proteins on the cool side
- High-smoke-point oil (canola or avocado) for coating food
For fuel, propane is straightforward. With charcoal, lump charcoal burns hotter and cleaner; briquettes burn longer and more evenly. Either works fine for beginners.
Pro Tip: Pour one cup of hot water down the side of your propane tank. The spot that feels cool to the touch is where liquid propane remains — a quick way to check your fuel level before guests arrive.
Which proteins should beginners start with?
Forgiving proteins are your best teachers. They have enough fat or moisture to survive a few extra minutes overheat without turning to leather.
Start here:
- Hot dogs and sausages (nearly impossible to ruin)
- 80/20 ground beef burgers (fat content keeps them juicy)
- Boneless, skinless chicken thighs (far more forgiving than breasts)
- Flank steak, skirt steak, or hanger steak (thin, fast-cooking, flavorful)
- Thick-cut vegetables: zucchini, bell peppers, corn on the cob
Hold off on these until you’ve got heat control down:
- Bone-in whole chicken or turkey
- Large bone-in roasts (brisket, pork shoulder)
- Whole fish or thin delicate fillets
- Anything under ½-inch thick that can overcook in seconds
The logic is simple: fat and thickness buy you time. A boneless chicken thigh has enough fat to handle a temperature spike; a skinless breast does not.
Pro Tip: Caribbean jerk chicken thighs are a perfect first cook. The marinade adds moisture and the thigh cut handles heat variation without drying out. Pick up jerk seasoning at Tojexpress and you’re halfway there.
How do you build a two-zone fire on gas and charcoal grills?
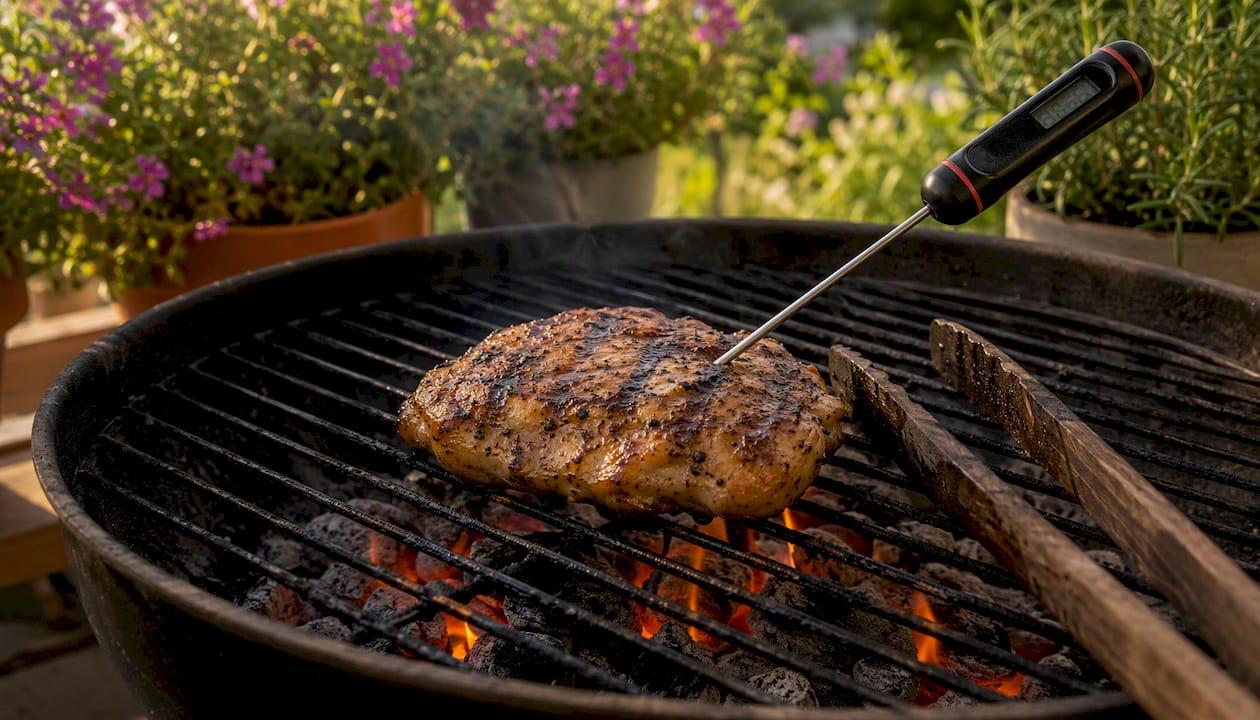
The two-zone method is the single most useful technique for home grillers. One side runs hot for searing; the other stays cool for finishing without burning the exterior.
On a gas grill:
- Preheat all burners on high for a suitable length of time for grilling
- Turn one side down to low or off entirely.
- Hot side = searing zone. Cool side = finishing zone.
On a charcoal grill:
- Fill a chimney starter, light it, and wait until coals turn white or gray, indicating readiness
- Pour coals onto one half of the grill only.
- Place a foil drip pan on the empty side to catch drips and simplify cleanup.
To read grill temperature, hold your hand 5 inches above the grate. Two seconds means high heat (450°F+); five seconds means medium (350°F). A lid thermometer helps, but an oven thermometer placed on the grate gives a more accurate reading.
On charcoal, open vents wide to raise heat; close them partially to lower it. On gas, adjust the burner knobs. Move food between zones freely — that’s the whole point of the setup.
Pro Tip: Place a disposable foil drip pan on the cool side whenever you’re cooking lean proteins like chicken breast or fish. It catches drips, prevents flare-ups, and makes post-cook cleanup take about 30 seconds.
Step-by-step: how to cook a burger, steak, and chicken thigh
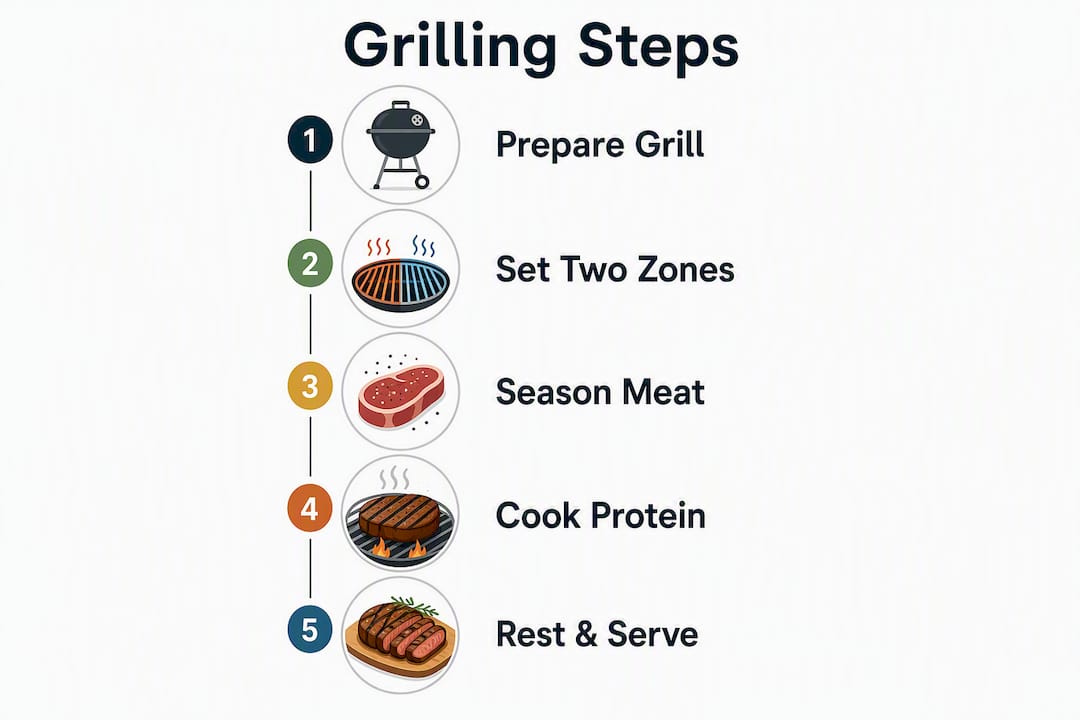
This is the sequence. Follow it verbatim and you’ll eat well.
- Pat meat dry with paper towels before seasoning.
- Season generously (salt, pepper, or your rub of choice).
- Brush oil onto the food surface — not the grate.
- Preheat grill to the recommended temperature with all burners or coals on high.
- Place food on the hot zone. Don’t move it. Let it release naturally before flipping.
- Flip once. Sear the second side.
- Move to the cool zone. Close the lid. Let carryover heat finish the job.
- Check internal temperature with an instant-read thermometer.
- Pull from heat slightly before target temp (carryover adds 3–5°F).
- Rest on a clean plate, tented loosely with foil, for at least 5 minutes.
Temperature and timing reference:
| Protein | Target Internal Temp | Pull Temp | Approx. Minutes Per Side |
|---|---|---|---|
| Burger (80/20) | 160°F (USDA) | 160°F | 3–4 min |
| Steak (medium-rare) | 145°F | 140–142°F | 3–5 min |
| Chicken thigh (boneless) | 165°F (USDA) | 160°F | 5–7 min |
Insert the thermometer probe into the thickest part of the meat, away from bone or fat pockets. For a burger, go in from the side to reach the center. The clock is a rough guide; the thermometer is the authority.
How do you season meat and build real flavor?
Dry rubs and marinades serve different purposes. A dry rub (salt + spice + a little sugar) builds a crust and works best applied 30 minutes to 24 hours before cooking. A marinade (acid + oil + salt + aromatics) tenderizes and adds moisture, but needs at least 2 hours to do anything meaningful. For a quick weeknight cook, a rub wins.
Simple all-purpose rub: 1 tbsp kosher salt, 1 tsp black pepper, 1 tsp garlic powder, 1 tsp smoked paprika, ½ tsp brown sugar. Coat the meat and let it sit uncovered in the fridge for 30 minutes minimum.
Quick marinade formula: 2 parts oil + 1 part acid (citrus juice or vinegar) + salt + aromatics (garlic, herbs, or Caribbean spices). Marinate chicken thighs for 2–4 hours; steaks for 1–2 hours.
To add smoke on a gas grill, fill a smoker box or a foil packet with soaked wood chips and place it directly over a burner. On charcoal, toss two or three dry wood chunks onto the coals just before adding food. Hickory works with beef; apple or cherry wood pairs well with chicken.
Pro Tip: Oil the food, not the grate. Oiling the grate burns off immediately and contributes to flare-ups. A light brush of oil on the meat surface creates a consistent non-stick layer that actually stays where you put it.
What food-safety and grill-safety rules actually matter?
USDA minimum internal temperatures are the baseline: 160°F for ground beef, 165°F for poultry, 145°F for whole cuts of beef, pork, and fish. Use separate plates and tongs for raw and cooked meat — cross-contamination is the most common food-safety mistake at backyard cookouts.
For flare-ups, move food to the cool zone immediately. Close the lid and partially shut the vents to cut oxygen. Never pour water on a grease fire. Keep baking soda or a fire extinguisher within arm’s reach.
Dirty grills are a leading cause of grill fires. The NFPA links unclean grills to a significant share of residential grill fires each year. Burn off residue after every cook, brush grates while still hot, and oil them lightly after they cool.
Clean grates also mean better-tasting food. Residue from last week’s cook transfers to this week’s chicken.
Fast fixes when something goes wrong mid-cook
Food is sticking: Don’t force it. Wait another 30–60 seconds — a proper sear releases naturally. If it still sticks, the grate wasn’t hot enough or the food wasn’t oiled. Next time, wait for natural release before flipping.
Exterior is charred but inside is raw: Move to the cool zone immediately, close the lid, and let indirect heat finish the job. Tent loosely with foil if the outside is already dark enough.
Meat came out dry: Fat content and thickness matter more than technique at this stage. Switch to 80/20 burgers or bone-in thighs next time. For the current cook, slice thin against the grain and serve with a sauce — it saves the meal.
Grill temperature dropped: On charcoal, add fresh coals or open vents fully. On gas, raise the burner. If neither works fast enough, finish in a 375°F oven on a cast-iron skillet. Many grilling mistakes trace back to impatience — not preheating long enough, flipping too early, or trusting the clock over the thermometer.
Key Takeaways
Two-zone grilling with an instant-read thermometer is the fastest path from beginner to confident backyard cook — preheat, sear, finish indirect, and always rest before slicing.
| Point | Details |
|---|---|
| Preheat every time | Run your grill at high heat for several minutes before food touches the grate. |
| Two-zone is the foundation | One hot side for searing, one cool side for finishing — use both on every cook. |
| Thermometer beats the clock | Pull burgers at 160°F, chicken at 160°F, steaks at 140–142°F and let carryover finish the job. |
| Rest meat before cutting | Five minutes of resting redistributes juices and keeps every slice moist. |
| Tojexpress for ingredients | Shop Tojexpress for Caribbean marinades, dry rubs, and American grilling staples in Atlanta. |
What Antonio gets right about grilling in Atlanta
Atlanta summers are humid and hot, which changes a few things most grilling guides ignore. Carryover cooking happens faster when ambient temperatures are high, so pull proteins a degree or two earlier than you would in cooler weather. Humidity also slows crust formation, which is why patting meat completely dry before seasoning matters even more here than it does in a dry climate.
The Caribbean-American crossover is where Atlanta grilling gets genuinely interesting. Jerk-marinated chicken thighs on a charcoal grill, finished with a squeeze of scotch bonnet-spiked citrus, hit differently than anything a standard American barbecue guide covers. Grilled plantains alongside a burger — sweet, caramelized, slightly smoky — take about 3 minutes per side and require zero technique. These aren’t fusion experiments; they’re practical meal upgrades that use ingredients you can grab in one stop.
My advice: match your protein to your heat technique before you get creative with flavors. Master the two-zone method on chicken thighs first. Once you can nail 165°F without drying them out, you’re ready to layer in jerk paste, Caribbean spice blends, or a quick citrus marinade. The technique carries the flavor — not the other way around.
For Atlanta-area meal planning that ties grilling into a full weekly menu, the Caribbean meal planning guide covers how to batch-prep proteins and sides so a Sunday grill session feeds you through Thursday.
Stock your grill pantry at Tojexpress
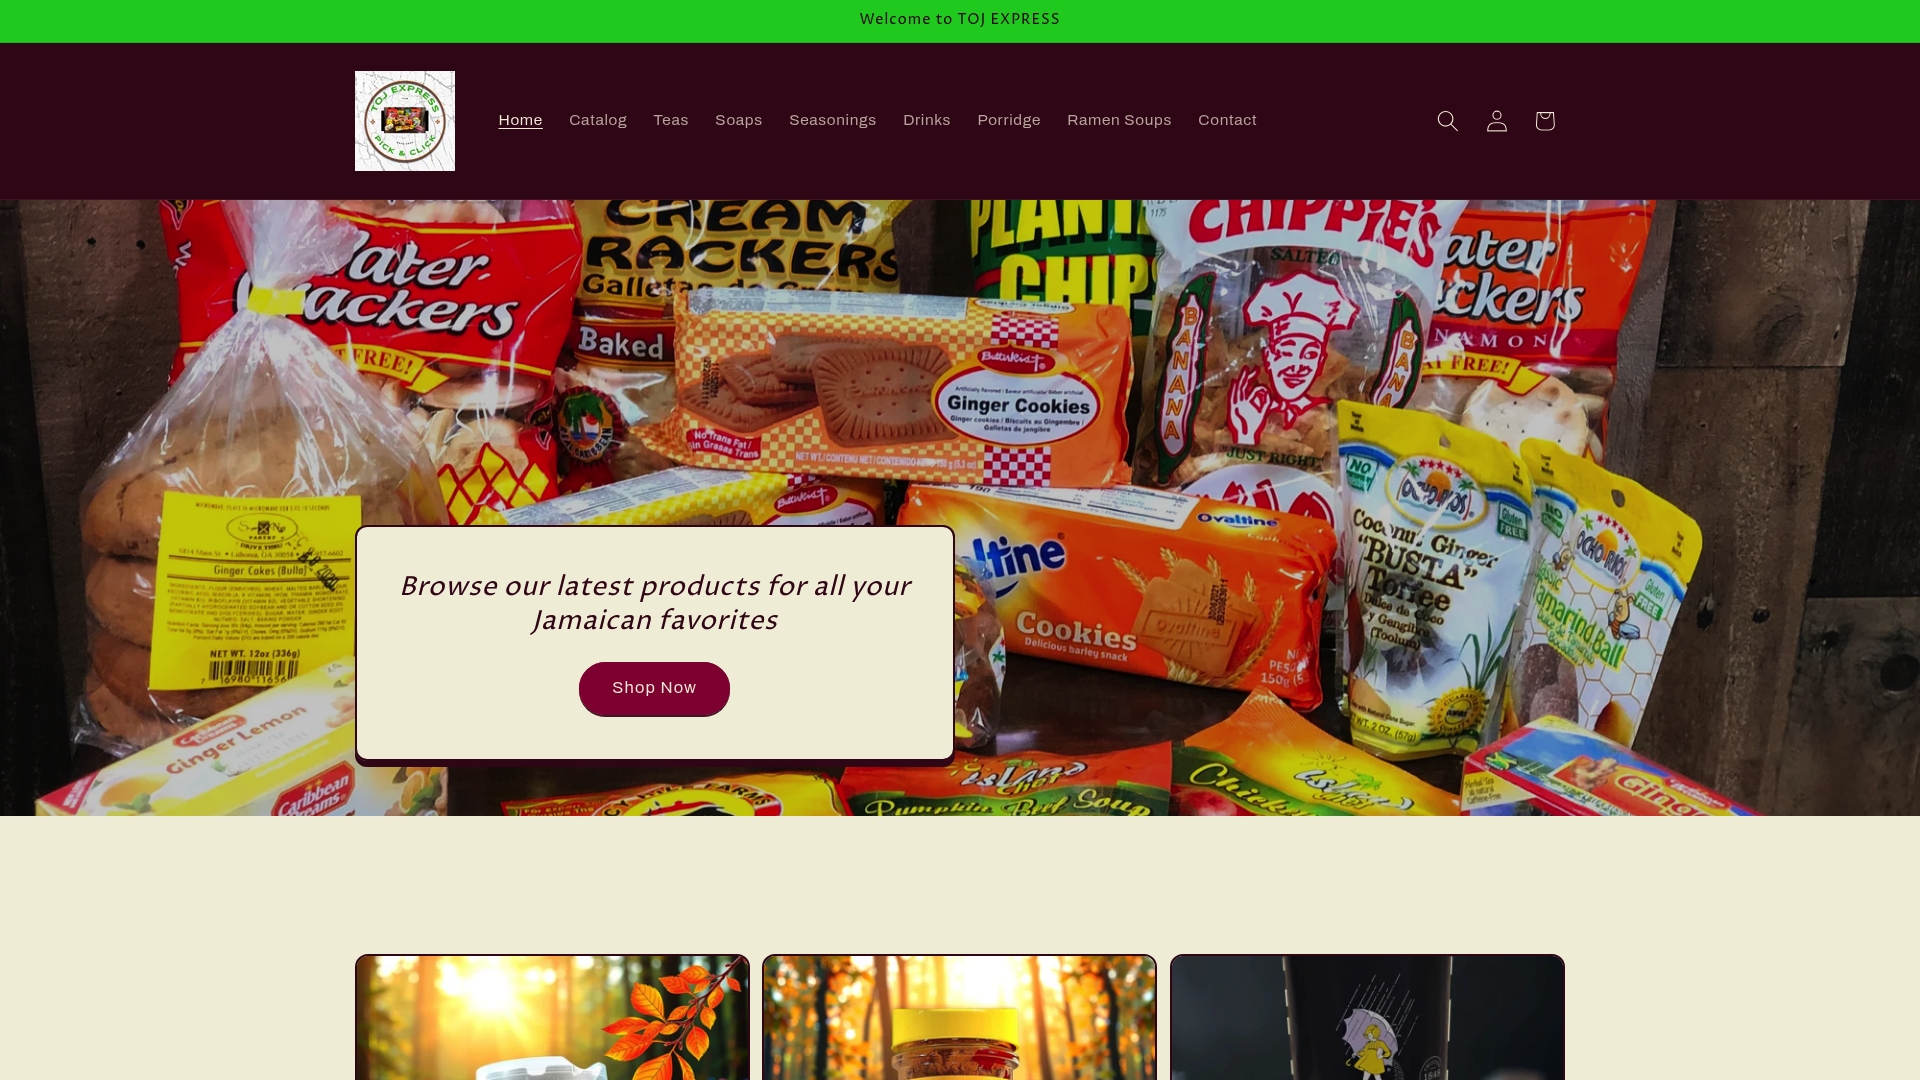
Getting the technique right is half the work. The other half is having the right ingredients on hand before you light the grill. Tojexpress carries the Caribbean marinades, jerk seasonings, dry rub blends, and American grilling staples that make the difference between a good cook and a great one — all available online or in-store for Atlanta, Stone Mountain, Decatur, Lithonia, Conyers, Tucker, Snellville, and Rockdale shoppers.
Skip the last-minute grocery run. Shop Tojexpress and have your seasonings, sauces, and sides ready before the coals are lit.
Useful sources
- Fond.kitchen — Grilling for Beginners: Covers preheat times, oiling technique, and beginner protein recommendations.
- Food & Wine — Chefs’ Best Grilling Tips: Features Christopher Prieto’s gas-to-charcoal progression advice.
- The Kitchn — Grilling Tips: Thermometer use, chimney starter guidance, and NFPA dirty-grill fire data.
- Nexgrill — Complete Guide to Grilling Meat: Two-zone setup explained and common grilling mistakes.
- What’s In The Pan — Beginner Guide to Grilling: Resting guidance and carryover cooking explained for beginners.
- America’s Test Kitchen — Grilling Basics: Propane level check trick and setup safety fundamentals.
- NPR — How to Grill for Beginners: Pre-grill safety checklist and fire management guidance.
- USDA Food Safety Guidelines: Consult USDA’s food safety resources directly for current minimum internal temperature requirements for your specific proteins.